

I am so excited to be working with Goodwill and their sponsor The News and Record. Goodwill has asked us designers to create one look entirely out of 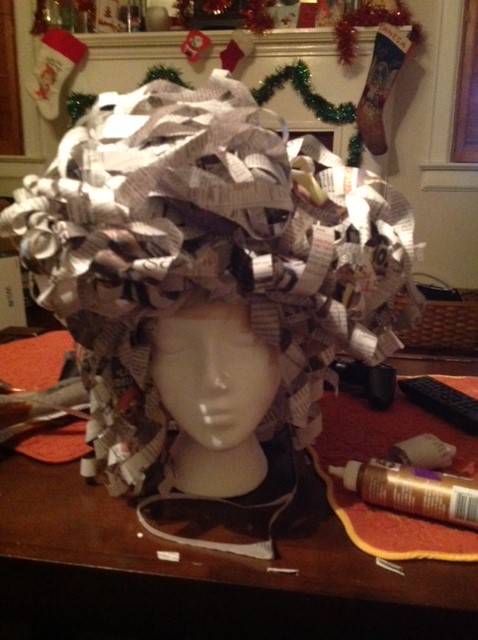 paper! I’ve never worked with paper before but after some research I was pleased to find that working with paper is remarkably similar to working with fabric. Not only am I using paper to create a garment, I’ve used paper to create a wig!
In this blog I wanted to give you a little DIY project that is super easy and fun. It’s also very customizable. I was inspired to create a wig after viewing a professional Elizabethan style wig on the FIDM Museum facebook page. I did a quick youtube search and found this video:
My first step was to purchase a foam head form. I got mine from Sally Beauty Supply for under $5. I then put washcloths (you can use toilet paper or paper towels) over the head and wrapped it with masking tape to create the dimensions of my model’s head. After that I put a layer of newspaper and another layer of masking tape. This will create the wig cap that will go on your models head.
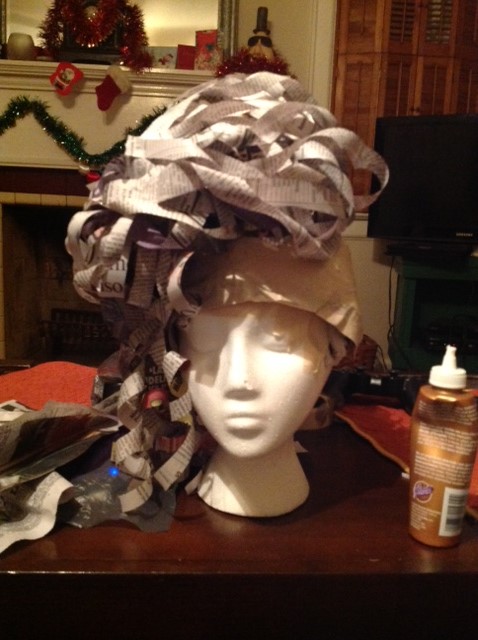
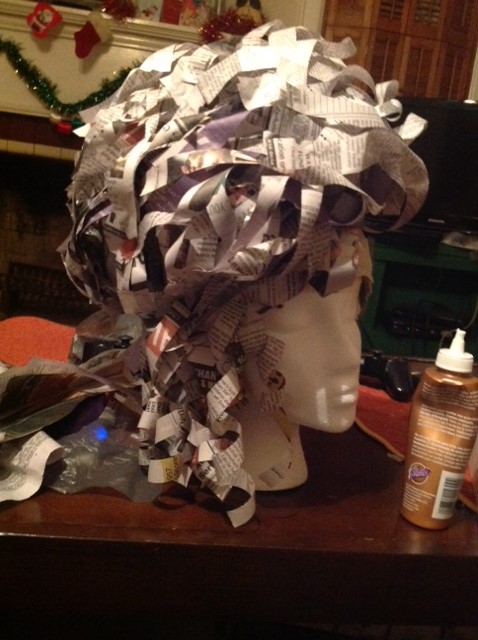
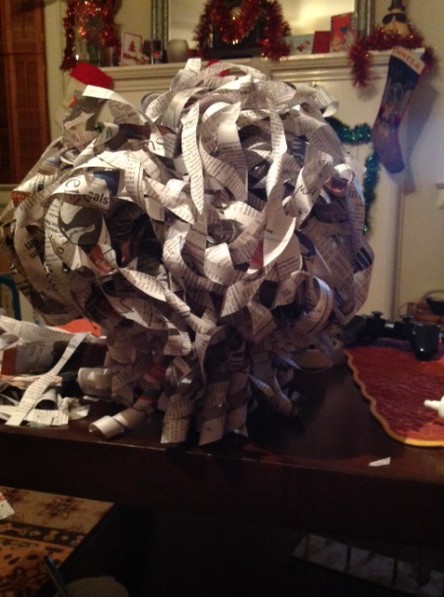
I cut strips of paper in a wave pattern but you can do just about anything you’d like with your paper. Cut it straight and curl it like ribbon, cut it short and spikey, make it long and flowing etc. After this step you can start gluing your paper on (I used a multi-purpose glue but you can use elmers white). I decided where I wanted my part to be and then I glued the paper on in lines moving from the front of the head towards the back. When one line is done you can start another line right next to it. When I reached the ear area I began to weave the strips into each other to create the volume you see. I added some ringlets around the ears to hide the cap and create a more realistic feel for the wig. I then repeated that process on the right side and finally, the back of the wig.
Some tips for creating a wig out of paper that I would remember are:
- Paper is very forgiving so don’t worry if it’s looking like a jumbled mess.
- Use color! You can spray paint your wig after or splatter paint it.
- Accessorize! Origami makes perfect hair accessories. A crane or flower would look lovely on a paper wig.
- Be creative! No two wigs will be the same so don’t put pressure on yourself to replicate things. Be yourself and express yourself through the wig.
I also wanted to include some progress photos of my creation so you can see my steps. I did the left side, then the right and finally added paper to the back. I worked for about 5 hours from start to finish.
 |
 |
 |
As you can see, the only thing limiting you is your imagination! I can’t wait to see what the other designers come up with in their unusual design challenge pieces as well as what audience members come up with in the Rock the Accessory paper competition!
I hope your wigs come out fantastic! As always, I’m Rachel Wilson and I’m going to Rock the Runway!