
 By Carrie Coyle
It is seriously crunch time! I thought for a second about posting pictures of me working away on my items, but then I thought twice about posting pictures of myself at 1 in the morning in the awful looking garb that I call my “work clothes”, that is just not a pleasant site. Sooo, I thought I would show you in a separate segment how I went about creating one of the items that will be showcased in my collection, and teach you how to easily do it yourself-yes, friends, DIY!
DIY: Tap Shorts
*Tap shorts have been trending for the past few seasons, and it’s forecasted that they will be a dominant silhouette for this Spring and Summer ’14. The tap short silhouette hits the leg at an angle, coming higher up on the outside of the leg at the hip, and falling at a 20 to 30 degree angle down towards the inseam.
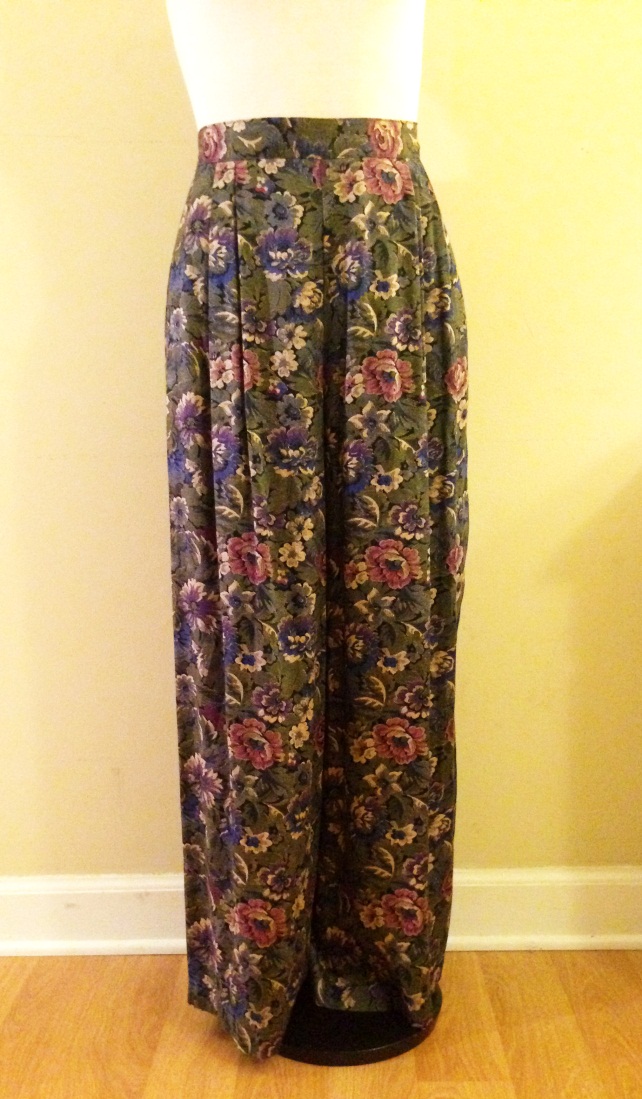
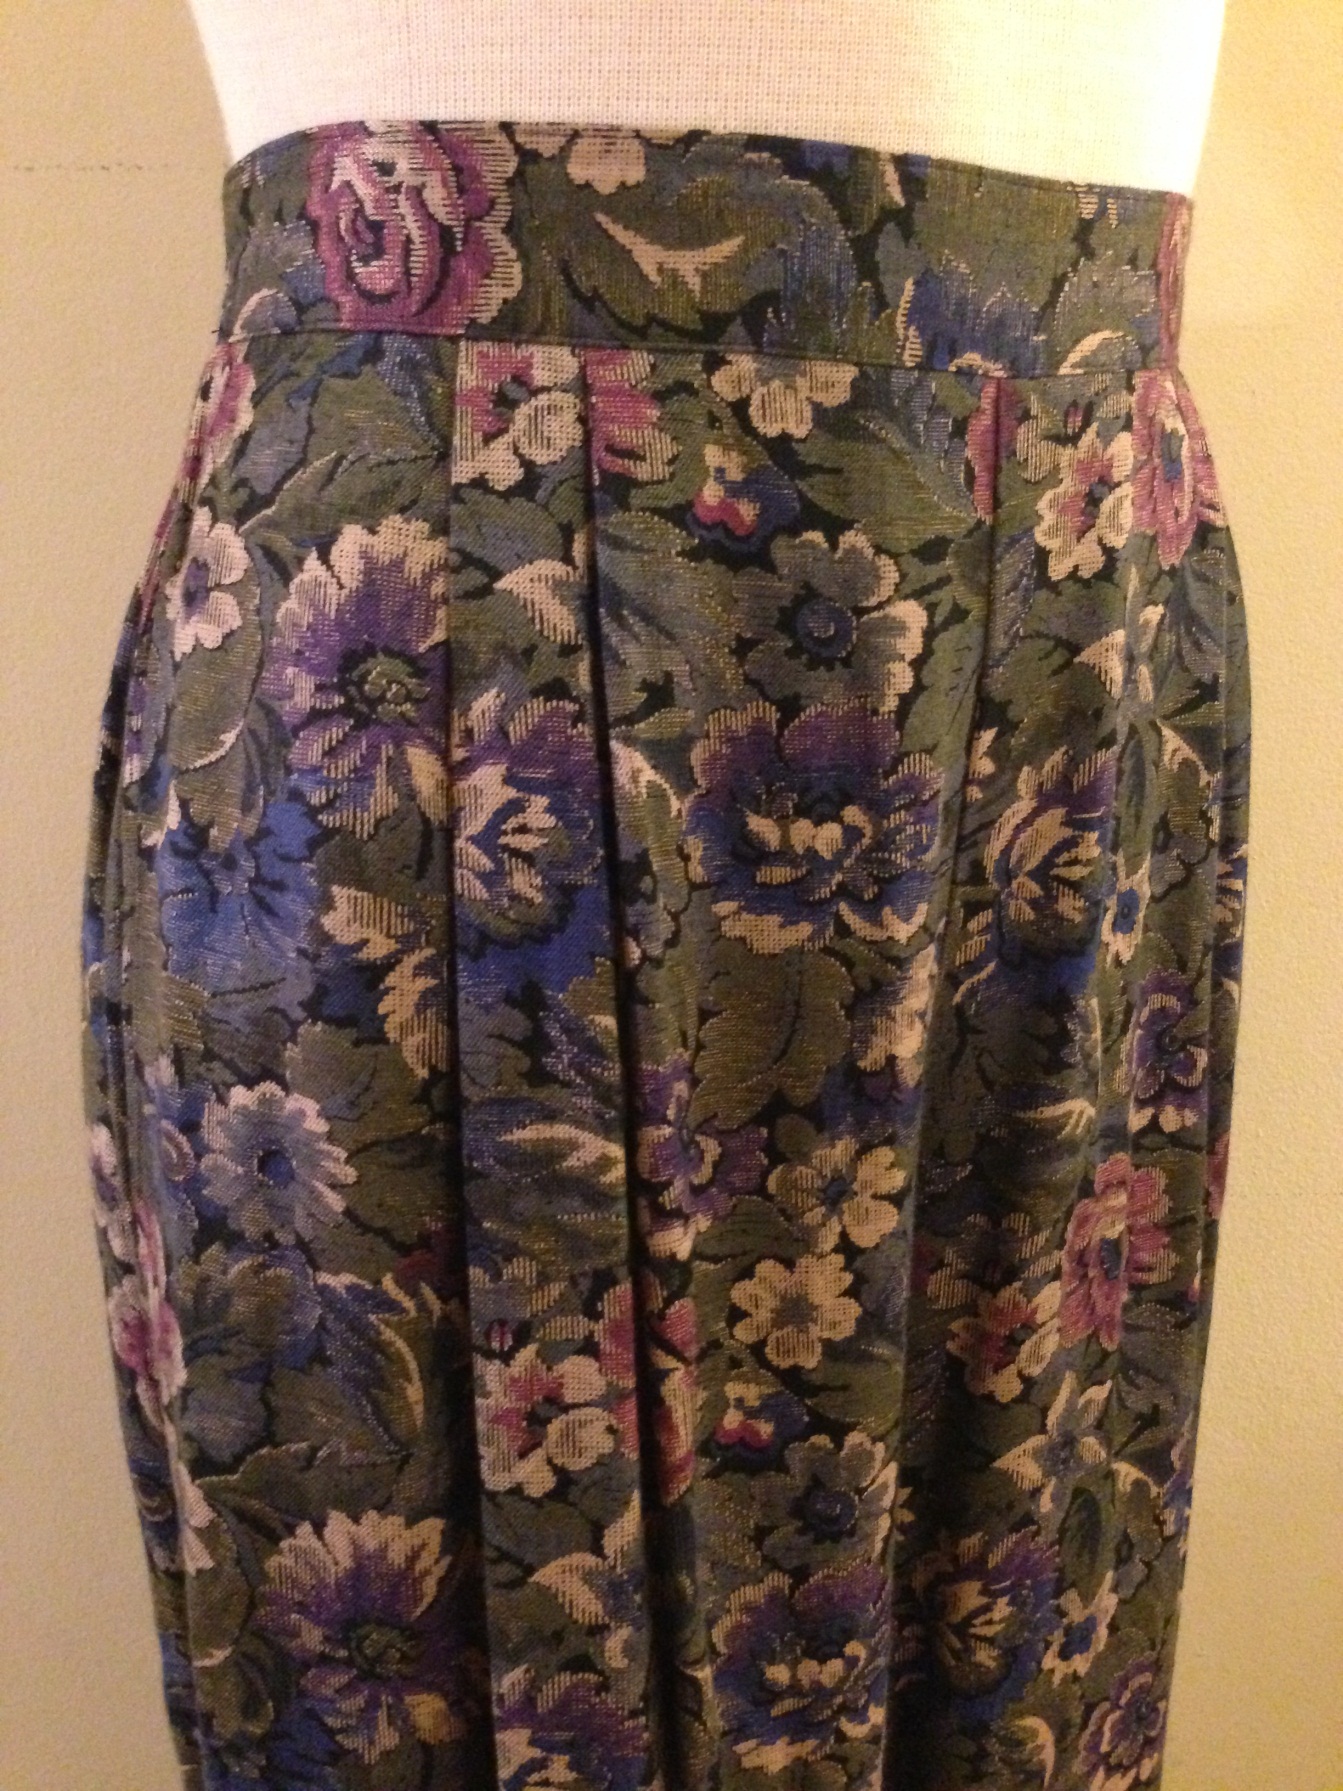
Just about every time I peruse the racks at Goodwill, I run across a pair of wide leg, high-waist pleated pants from the 80’s/90’s-usually in some sort of funky (by that I mean cool) print, in a rayon or cotton/poly blend which gives them a great drape. I love the high-waist, but they are always TOO SHORT! I’ve tried wearing them different ways, but I just can’t seem to make it work for me.
SOLUTION: cut them to be tap shorts! I’m going to give you a quick pictorial on how to make your own pair.
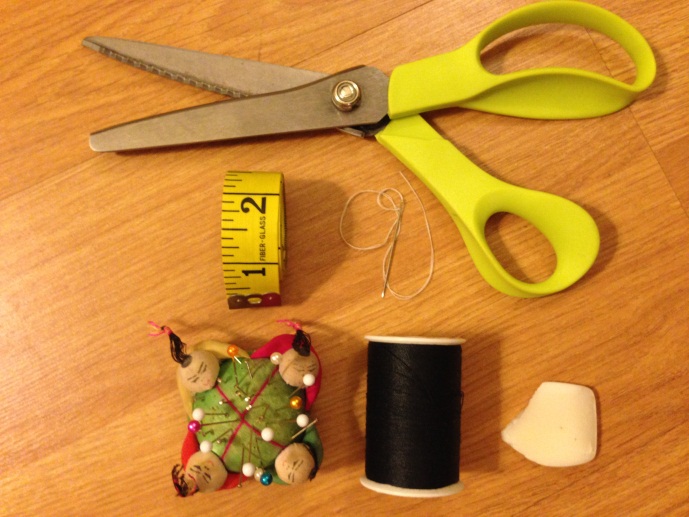
Here are the items that you’ll need: pinking shears, tape measure, pins (weird pin pillow from mom, not necessary), thread to match the dominant color in the pant, soap or chalk for marking, and it’s preferable that you have a sewing machine, but you can also use a needle and thread or stitch witchery bondable adhesive.
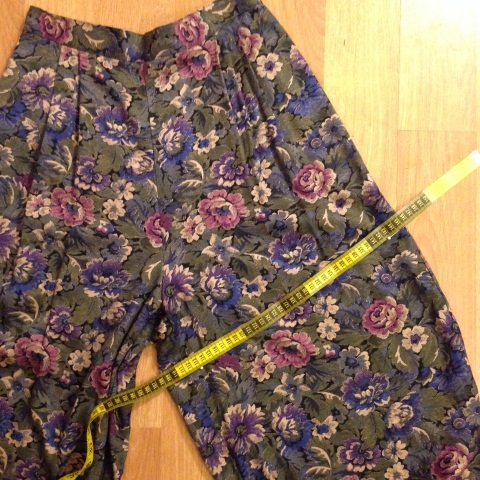
These are the sweet pants that I picked up today!
 |
 |
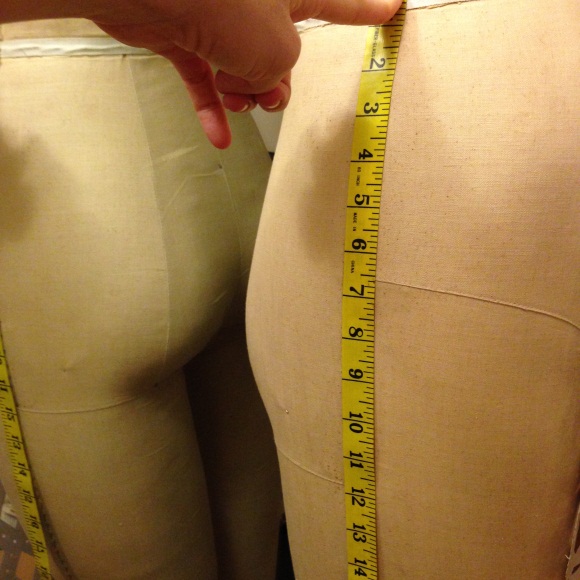
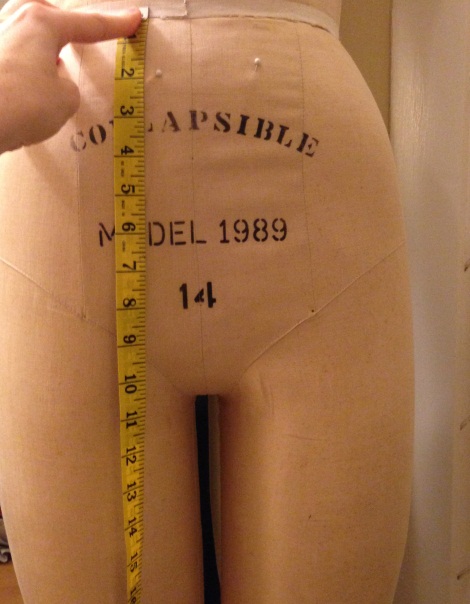
STEP 1A: Measure from where the pants hit at the waist down the outside of your leg to where you want the highest point of the pant to come, and mark with a pin.
STEP 1B: Then measure from where the pants hit at the waist down the center front of your body to where you want the lowest point of the pant to come, and mark with a pin.
 |
 |
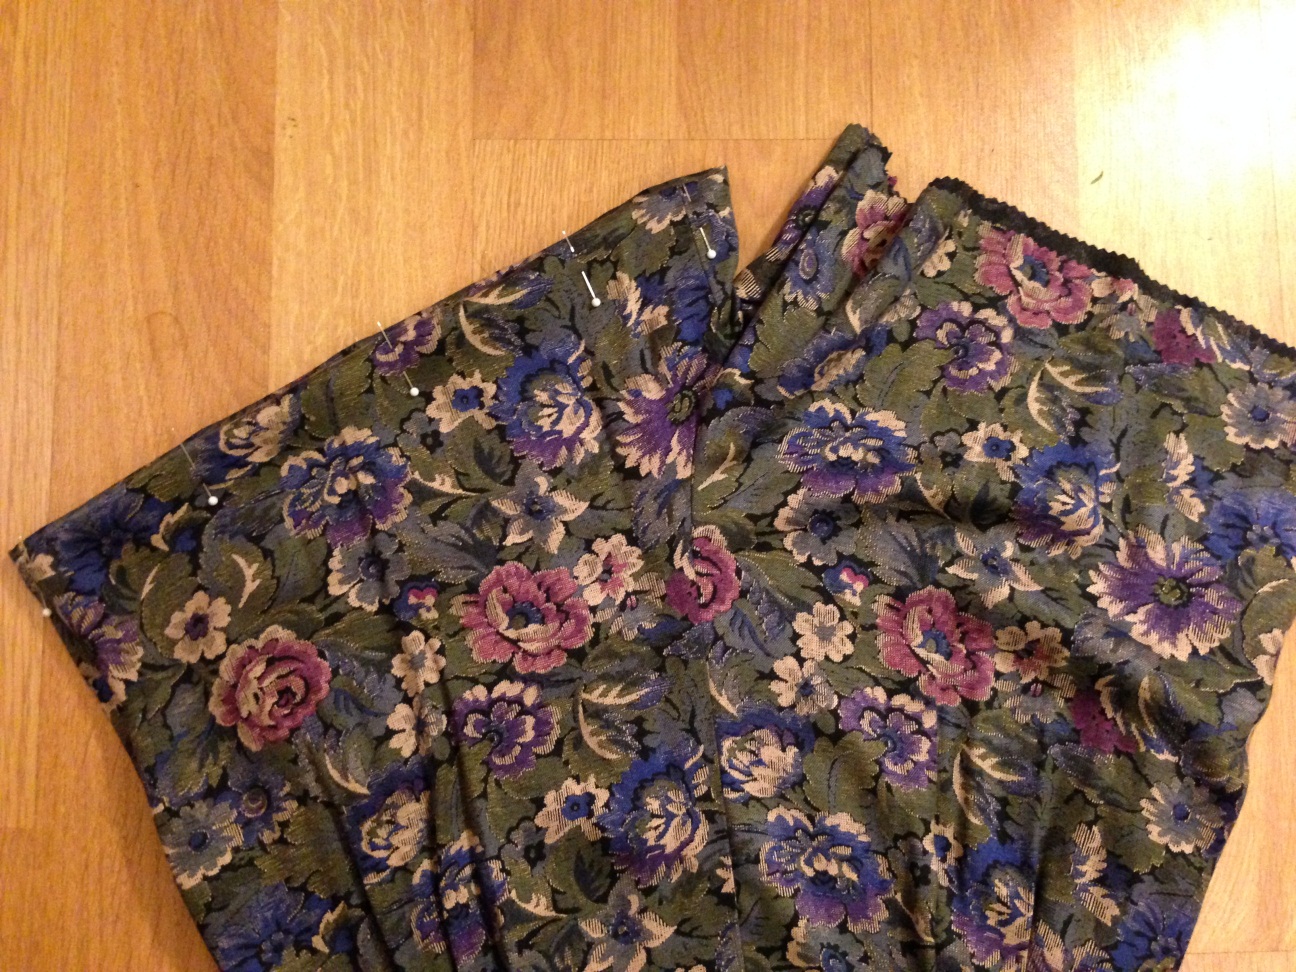
STEP 2: Draw a line with your soap or chalk connecting the two pins. *Make sure that the line hits the edge at a 90 degree angle or else you’ll have a point and it will make sewing a bit awkward.
 |
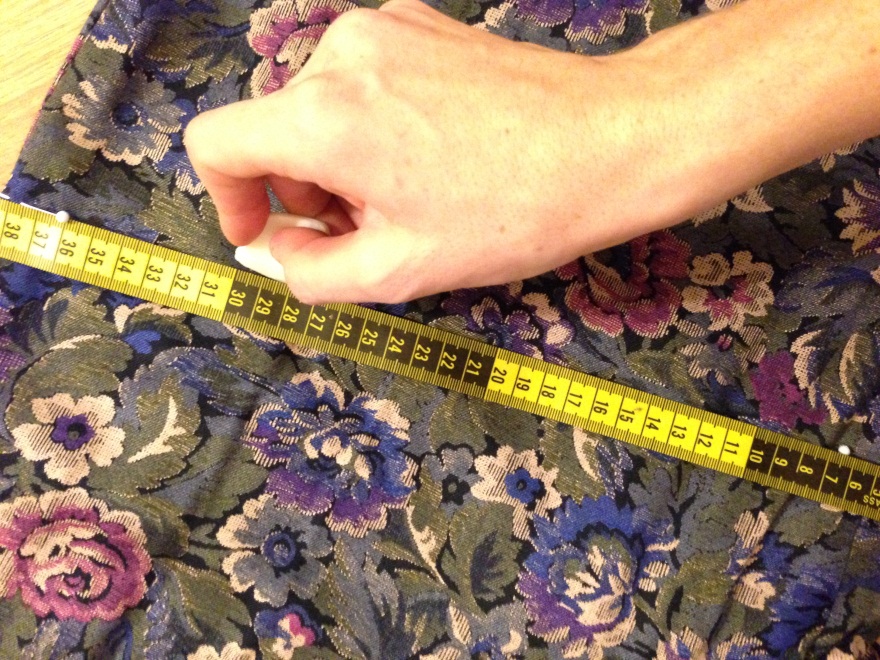 |
STEP 3: Measure down 1 ¼-1 ½” from the line you just drew and mark another line running parallel to the top. This line will be where you cut along with your pinking shears. *Pinking shears are a simple way to minimizing the fraying of the fabric when cut. They were used a lot for home sewing before sergers were mass produced for the home. You can also turn up the fabric ¼” and press, and then fold it up again ¾”-1” to make a clean hem-this is how I do a lot of my hems for a cleaner look, but it does take a bit more time.
 |
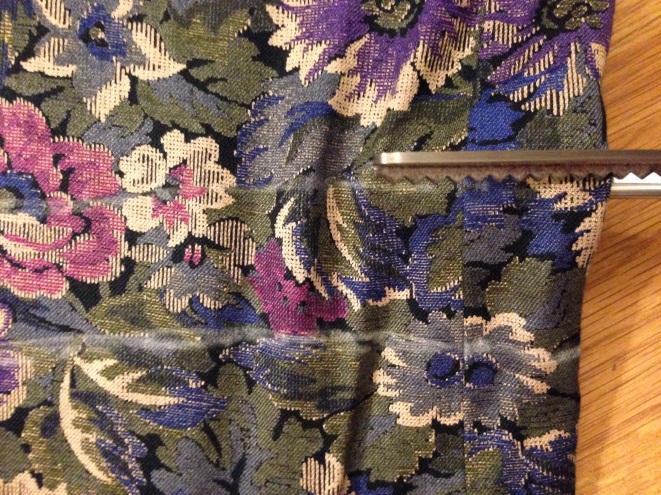 |
STEP 4: Fold the hem up and to the inside, folding along the first line that you made. I then pin it in place so that it’s easier to sew and so that the hem stays were I need it. It is helpful to also press it at this point.
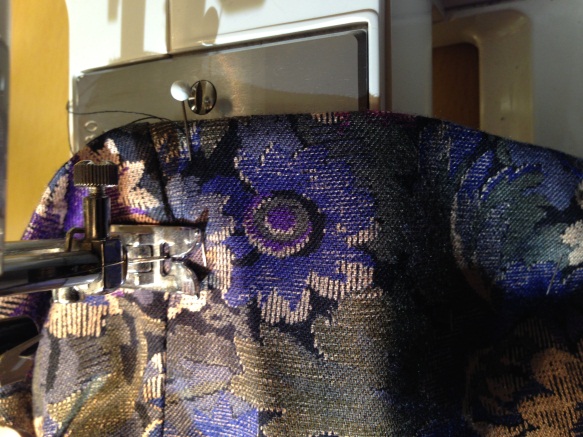
STEP 5: Sew along the edge of the garment, approximately 1” up from the fold. You can also sew with a blind-stitch for a cleaner look-I usually do this when making a clean hem on the inside.
FINISHED LOOK!! Pair with tights for the winter and strut bare-legged in the summer!
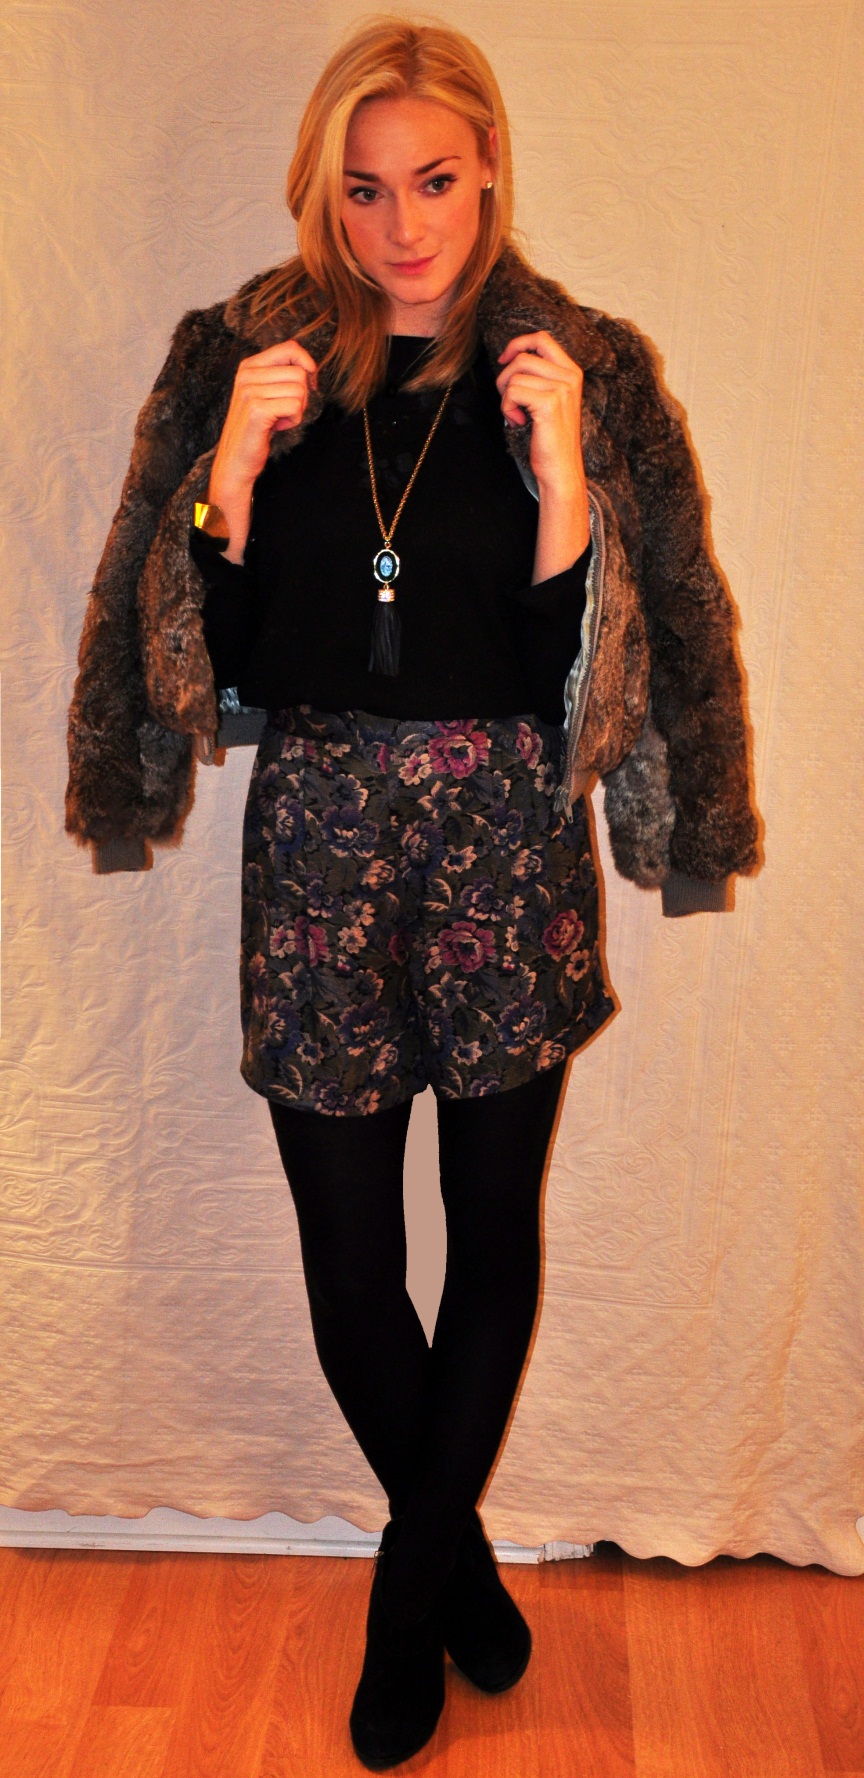
*Fur jacket, blouse, and DIY tap shorts all purchased at Triad Goodwill stores.
…and next time I’ll teach you how to DIY a makeshift backdrop using a blanket! Ha, please excuse that detail.
~Carrie Coyle