
DIY: Create an Easy Online Flyer
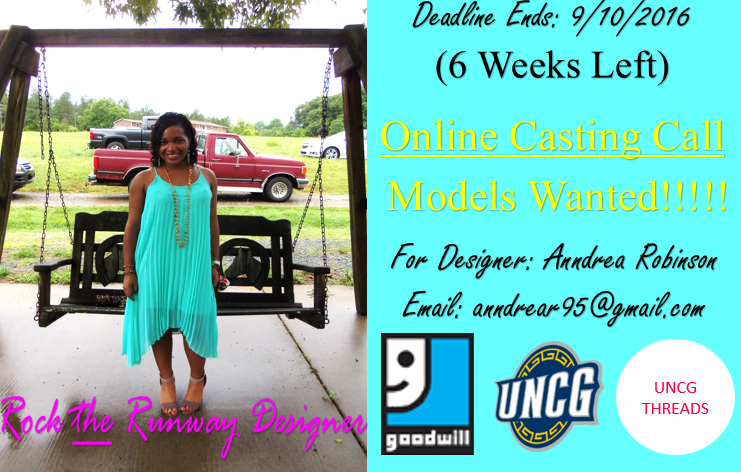
(Flyer Below Is Just an Example)
Hey guys! Have you ever wanted to create your own online flyer? At Randolph Community College I did a semester majoring in Graphic Design. Even though at the time, being a graphic designer was a lot of hard work and very expensive. I changed my major the next semester, but I learn a little about being a graphic designer. Today, I am going to show you an easy step-by-step on how to create an online flyer without using any Adobe apps.
Tools
- Laptop/Computer
- Any Online Pictures or Pictures You Have
- Power Point (Desktop App)
- Snipping Tool (Desktop App)
Instructions
Step 1: Open Power Point and click on home tab “new slide” to open a “blank” page.
Step 2: Go to insert to open up any “pictures” you have or “online pictures”. I use a picture of myself for my online flyer.
Step 3: Place your picture anywhere you like on to your blank page. Stay on insert, click on “WordArt” to create any type of typography words on to your flyer. You can choose all types of fonts, sizes, and colors.
Step 4: Now that you have everything on to your flyer it’s time to do the last final step. On your laptop or computer go to the “search” box to type in “snipping tool”. On snipping tool click on new (should be a plus sign arrow that will pop up) start copying your online flyer. Make sure not to get any white spaces around your flyer. Save your flyer on to your laptop or computer then you’re ready to blast your online flyer on any of your social media.
I hope you guys enjoy my simple version on how to create a graphic design online flyer. You’re going to save lots of time, energy, and money. See you guys soon at the Rock the Runway Fashion Show!!!!!